An explanation of different 3D scanners
There are a few different 3D scanners which operate with varying levels of accuracy. There are scanners that are cheap and portable but produce low-quality results. There are incredibly high-definition scanners that are expensive and only capture objects of a certain size. There are scanners that are great for inanimate objects but terrible for people and animals. I will list the different scanners that are used to capture people but first I will explain what sets the scanners apart.
There are 3 important factors to consider with 3D scanners:
-
1 - Topology
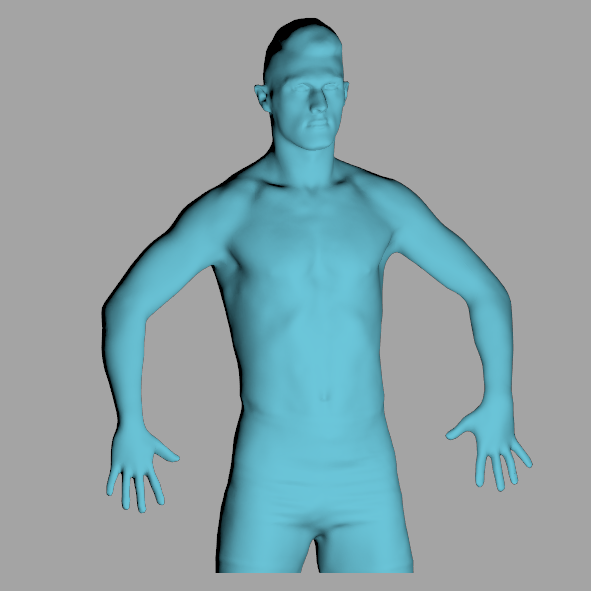
This is the surface of the 3D model that results from a scan. This is often referred to as the mesh. It is made up of polygons put together in 3D space. You want the resolution of this to be as high as possible with the initial scan. This is particularly important for the face. The topology of the face is what really defines our look. The rest of the body usually consists of parts that are relatively smooth and can be reconstructed even if the topology is damaged or missing. However, its extremely difficult to reconstruct the topology of the face without altering a person's defining look altogether.
-
2 - Texture

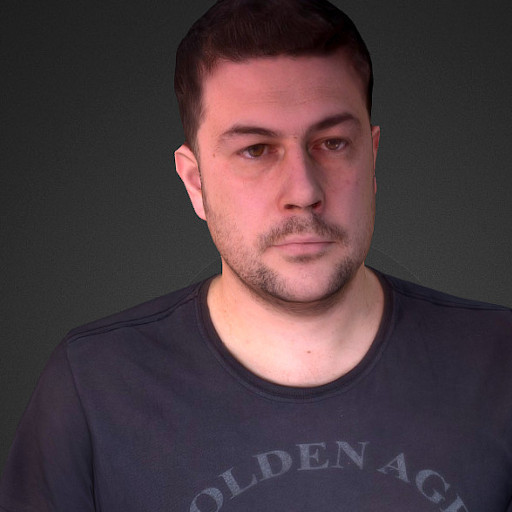
This is the colour that's wrapped over the 3D mesh. It's literally a square image when flattened out. The quality of the texture is what really gives a 3D scan the "high definition" look. Also, the higher the resolution of the texture, the more you can zoom in to your scan while retaining a high level of clarity. Your texture is considered high definition if you can zoom into a scanned human and clearly see stubble, blood vessels in the eyes and even pores of the skin. However, this isn't always necessary for gaming and definitely not necessary for 3D printing which significantly reduces the resolution of the texture when printed on sandstone.
-
3 - Time
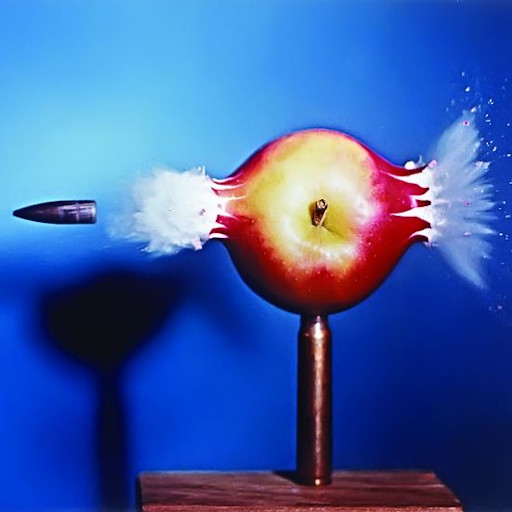
This is the time it takes to scan a whole person. The longer it takes, the more motion distortion you will suffer. The requirements here should be the same as the requirements for taking a portrait photo with a normal camera. The recommended shutter speed for a portrait photo is 1/160. That means the shutter is open and capturing everything for 1/160th of a second. The subject needs to keep still for 1/160th of a second. If you've seen a photo captured by a DSLR camera with a quick shutter speed you'll notice the clarity of the image. Once you decrease the shutter speed you start introducing blurring into your image.
3D scanner types
There are a few common types of 3D scanners out there. I will briefly explain each one using human scanning as an example. Humans are difficult to scan because of their size and because they are animated.
-
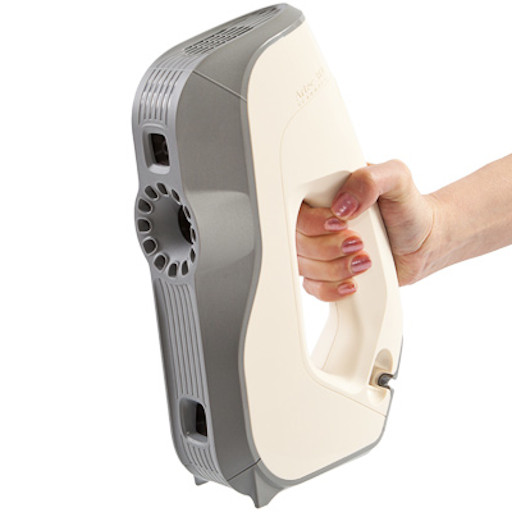
Handheld scanners
These are the kind that Artec and Kinect make. You walk around a person and scan them in carefully. The topology comes out quite detailed, but the texture is very low quality, resembling that of a low resolution compact camera. The major drawback here is the time it takes to scan a person, which is over a minute.
-
Rotating IR scanners
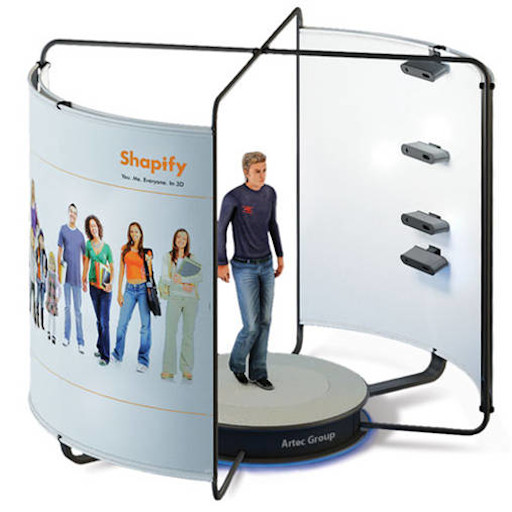
This uses the same technology as handheld scanners but its an automated process. A person stands in the middle of a rig which is surrounded by around 8 IR scanners. You stand still for at least 15 seconds while these 8 scanners rotate around you. The difference between this and using one handheld scanner is just the scanning duration. A lot of scanning booths are made like this. You might even see them in shopping centres, being used as a tool to measure a customer's dimensions for easy fittings. These scanning systems also suffer from low resolution textures and motion distortion. You would never take a portrait shot with a shutter speed of 15 seconds!
-
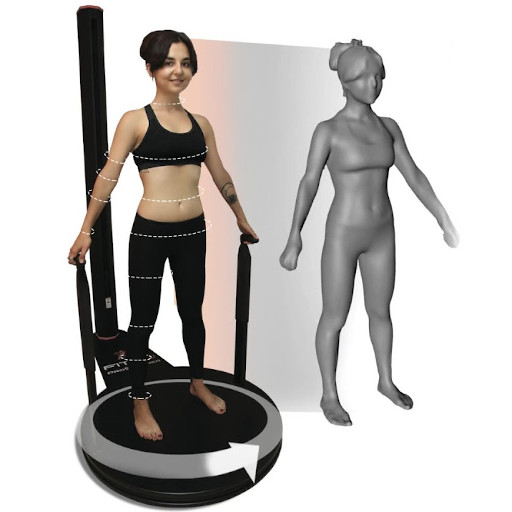
Budget rotating IR scanner
This type of scanner has a platform for the person to stand on. There's a stand with up to 3 IR cameras on it and the person rotates in front of the stand. A typical scanner of this type is the Fit3D device. This device takes 40 seconds to scan a whole person. The camera that captures the texture has a 5MP resolution. The processing for these systems are automated which means the resulting 3D model is a heavily smoothed-over model. This type of automation is quick and cheap but results in a low-accurate representation of the person being scanned.
Single camera photogrammetry
Another process used for 3D scanning is photogrammetry. This is where photos are aligned in 3D space using features in the photos. From there you can produce a mesh and texture. Its basically panorama for 3D. The downside is that this is reliant on features, but, the clearer the photos, the more features you can extract from it. With any kind of camera you can take 80 photos of a person from different angles then create a 3D scan just from that. However, a better camera will bring out more features so you will have more accurate topology and a clearer texture. The downside of using one camera is that the subject needs to keep still for a few minutes. This will introduce a lot of motion distortion.
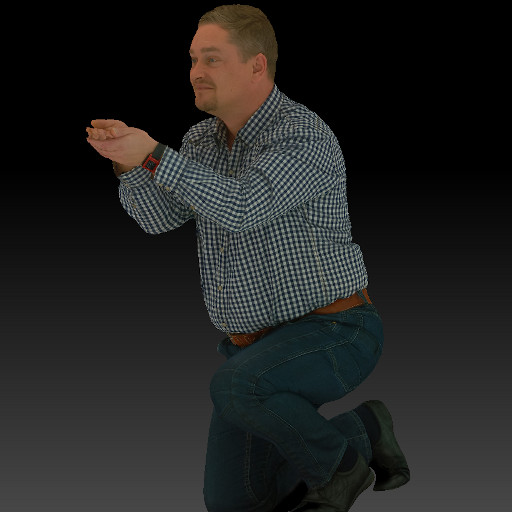
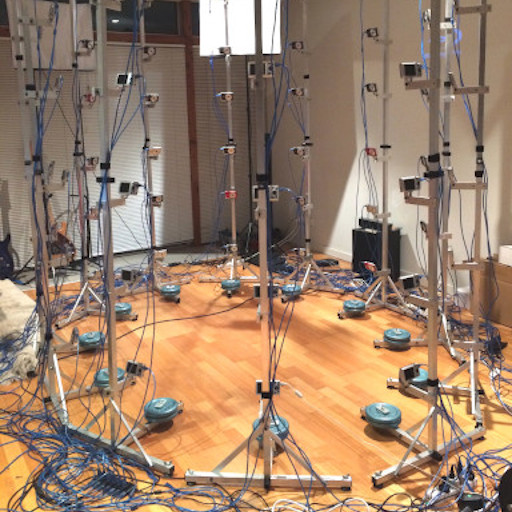
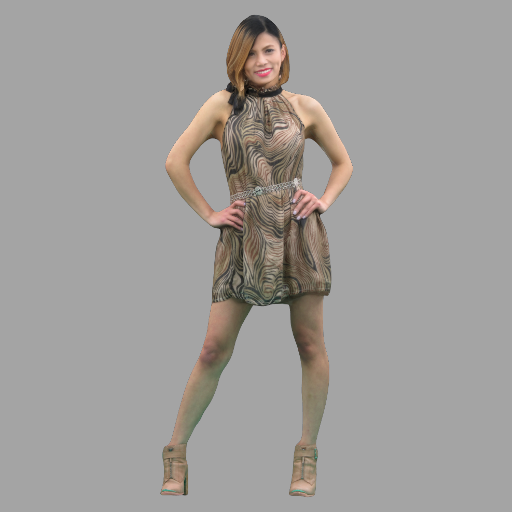
Multiple camera photogrammetry
The purpose of this is to capture the person from all angles within the smallest possible time-frame. This is a setup that relies on at least 60 cameras which are all synced together. Having multiple cameras is used for near-instantaneous capture of people which massively improves accuracy. The speed of capture is no more than 1 second. The faster the sync speed is the more light that's required so the limit really is the amount of discomfort in their eyes a model is willing to bear.
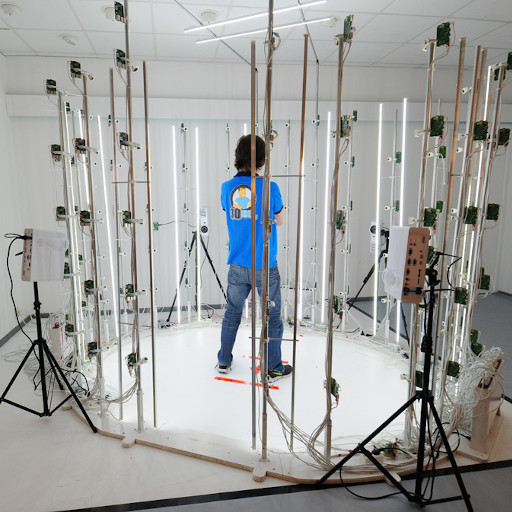
Raspberry PI cameras
These are cameras that can be attached to the Raspberry PI processing boards. This is a cheap solution which requires less equipment. There are usually around 100 cameras in this system but the cameras themselves are quite cheap and light-weight. That also makes it easier to transport. Its common for these setups to include projectors. The texture resolution is 8 mega-pixels which is considered quite low. The projectors are used to overlay a random pattern over the person. This pattern adds features which helps produce a more accurate mesh. The downside is that 2 sets of photos need to be taken, one with the projectors on (for the mesh) and another with the projectors off (for the texture). A single shot from the cameras takes around 1/5th of a second. With the project its at least 0.5 seconds.
Compact cameras
This is a scanner with 72 Canon Powershot A2500 cameras. It takes about 1 second to capture the whole body. The resolution is 16.1 megapixels. This is a rather affordable 3D scanner to build, which is lightweight, easy to transport and produces pretty good results. The final result appears quite accurate to the users, but the raw mesh usually has inaccurate or corrupted topology which requires a lot of manual labour to clean-up.
DSLR cameras
This is the grand-daddy of them all. You could even capture people while they are in motion. A typical DSLR camera has more than 21 megapixels. A lot of these setups use the same technique as high-speed photography to achieve an incredibly fast shutter speed. This is done by having the scanner in a dark room, opening the shutters of the cameras, triggering a flash, then closing the shutters of the cameras. This effectively makes the speed of the shutter the same speed of the flashes. This can be from 1/600th of a second to 1/80,000th of a second. However, the faster the flash, the more flashes you will need to boost the light intensity. So the real limit is how much light you can use before it makes the model's eyes hurt. The initial topology here would consist of millions of polygons (from 3 million to 7 million) and the texture would have the same clarity as a professional photo taken by a DSLR camera. The final result is very accurate and processing may be quick because the raw mesh already has a lot of detail and does not require much clean-up.